Ready for the Open Road Again? Your Complete 10-Step Checklist for Getting Your RV Out of Storage in Boise
Something is exciting about the first day you pull your RV out of storage after a long Idaho winter or even a few quiet months between trips. The anticipation of upcoming road trips, campground mornings, mountain views, and evenings around the fire starts to feel real the moment you unlock the door and step inside. Whether you are planning a quick weekend getaway near Lucky Peak Reservoir or a longer drive through the Sawtooth Mountains, preparing your RV properly before travel can make a major difference in both safety and enjoyment.
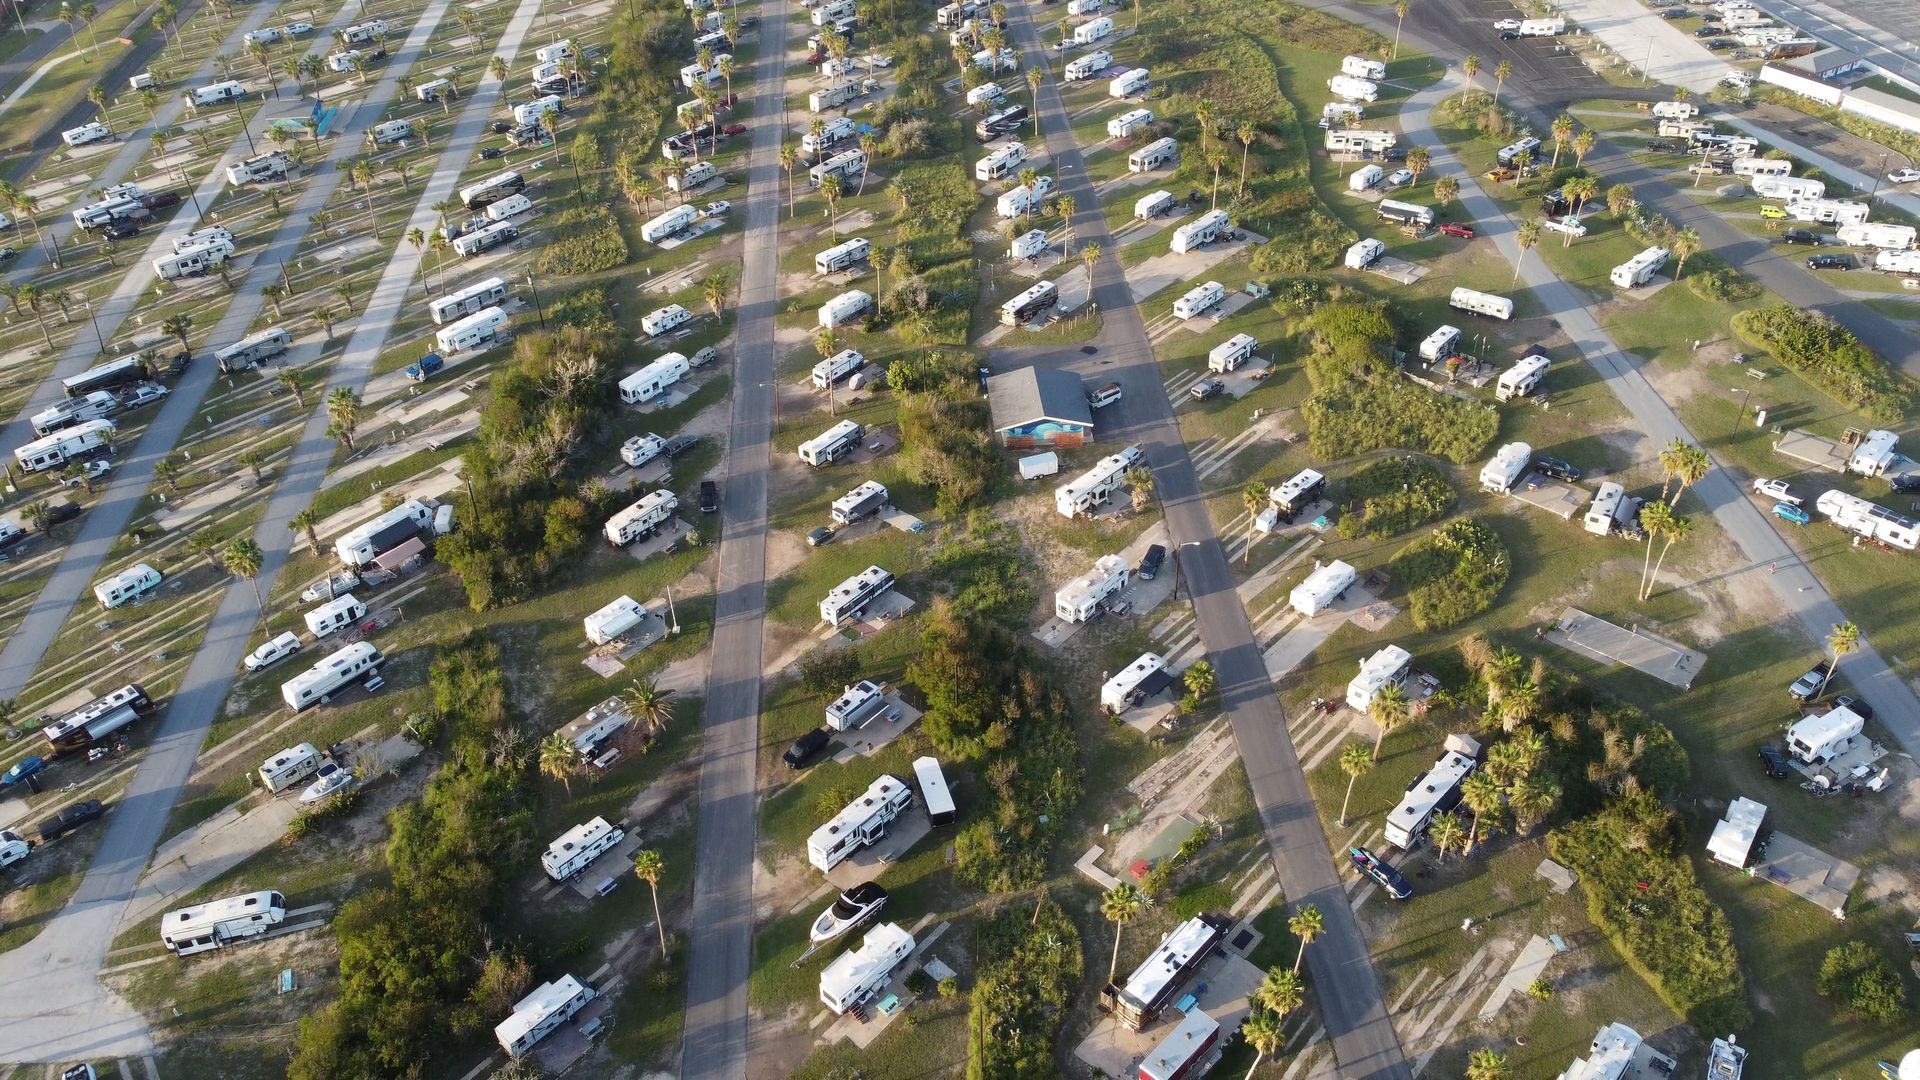
At the same time, taking your RV out of storage is not as simple as turning the key and heading down the highway. Months of sitting still can affect everything from tire pressure and batteries to plumbing systems and roof seals. In Boise, where seasonal temperature swings, dry summers, and snowy winters can all impact stored vehicles, it is especially important to inspect your RV carefully before putting miles back on the odometer. A thorough checklist helps prevent small maintenance issues from turning into expensive repairs during peak travel season. In addition, RV owners who use reliable storage options in Boise often find that proper storage and proper reactivation go hand in hand. The better your preparation process is before and after storage, the easier it becomes to protect your investment for years to come.
Key Points for Readers Short on Time
- Inspect your RV thoroughly before driving it after storage.
- Check tires, batteries, fluids, plumbing systems, and appliances.
- Idaho’s climate can affect RV components during long storage periods.
- Short test drives help identify problems before longer road trips.
- Proper storage habits can help preserve long-term RV value.
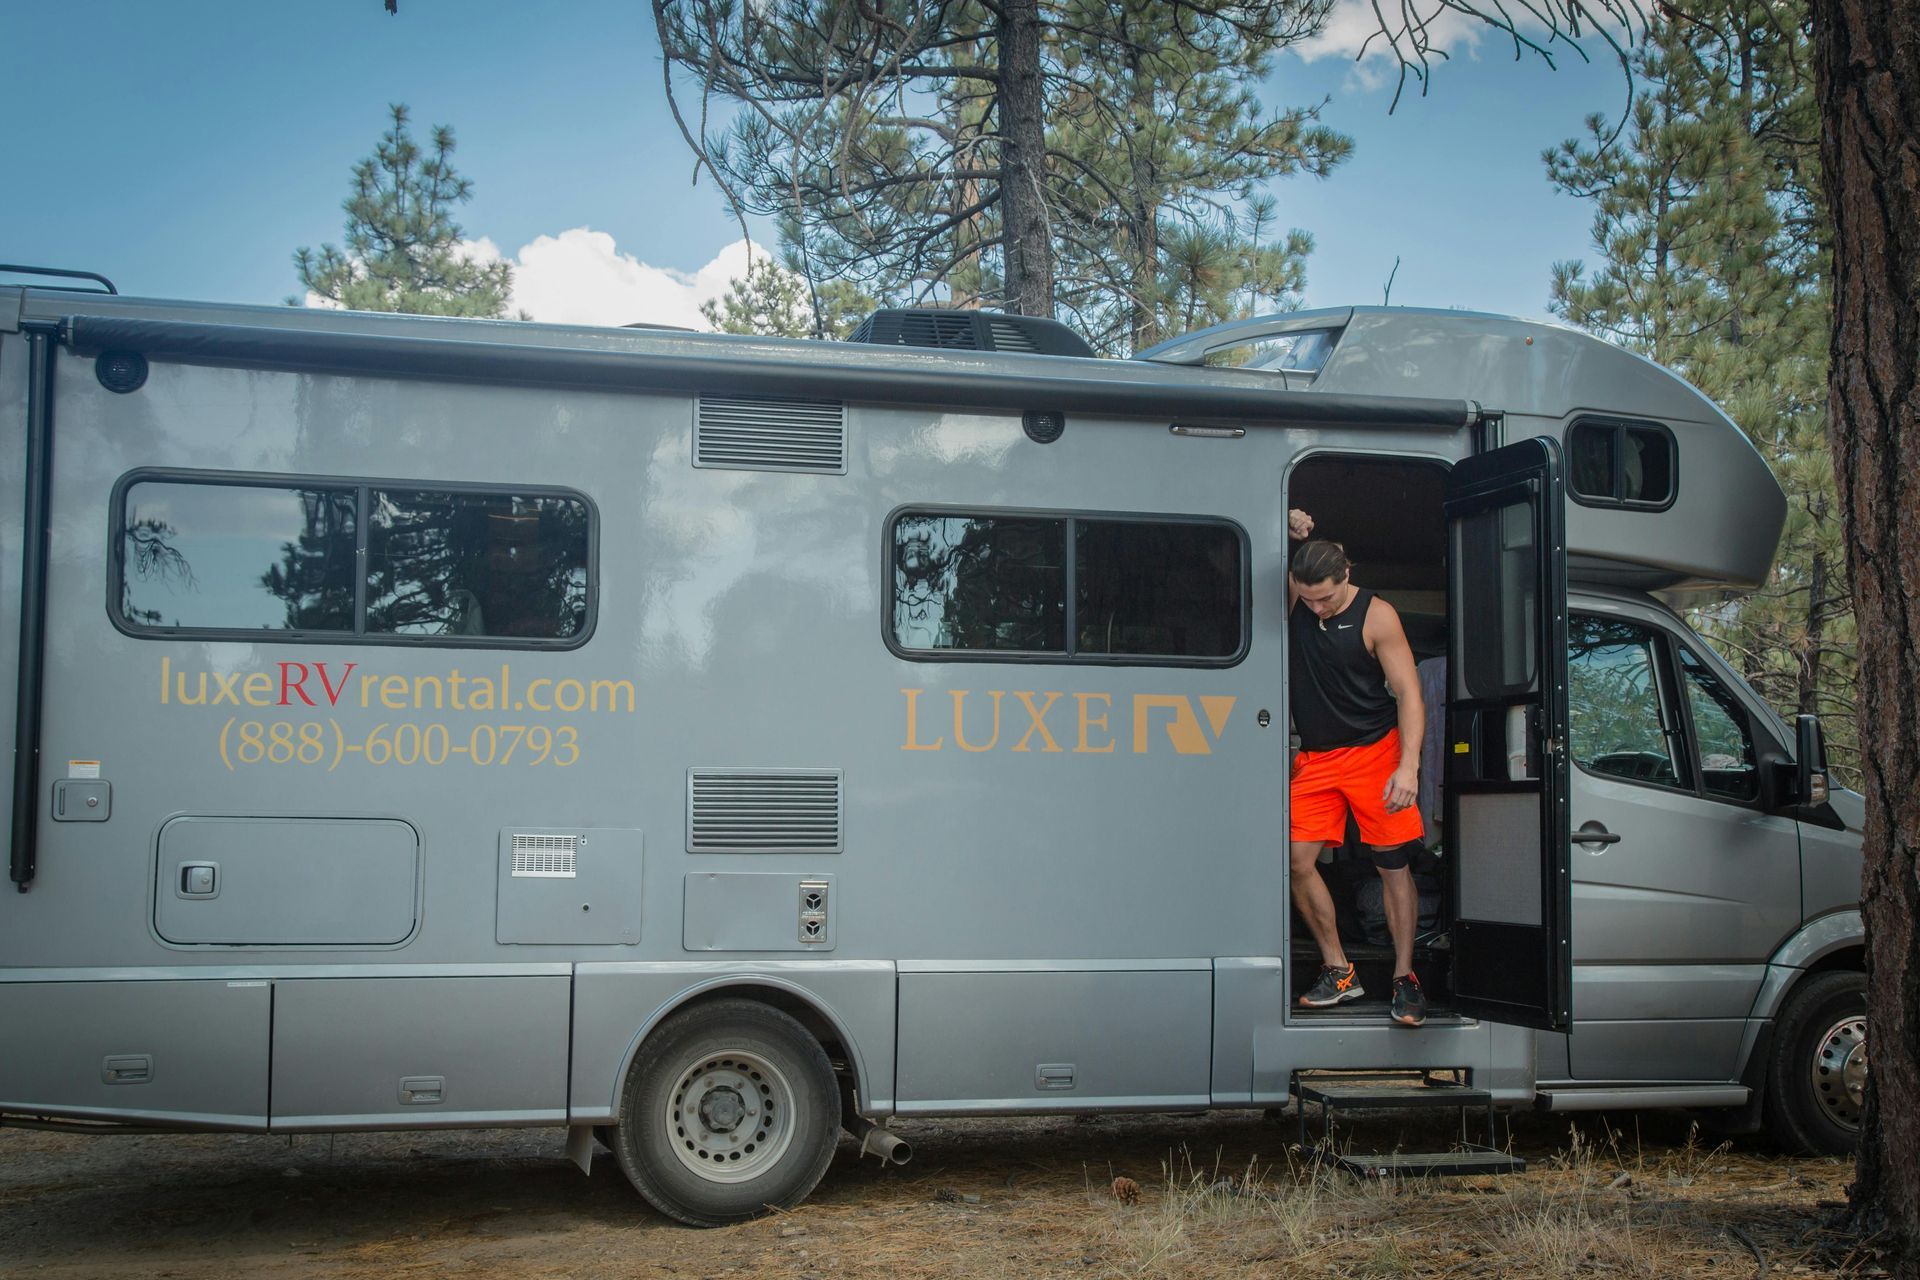
1. Begin With a Thorough Exterior Walkaround
Before starting the engine or loading supplies, take a moment to thoroughly inspect the outside of your RV, from top to bottom. Although this step may seem basic, it often reveals issues that developed quietly while the RV sat in storage. In Boise, changing weather conditions throughout the year can gradually affect exterior materials, especially if the vehicle was stored outdoors. Start by checking the roof, windows, seals, vents, and side panels for signs of cracking, loose caulking, or water intrusion. Even a small opening around a roof seam can allow moisture to enter over time, potentially leading to interior damage that is difficult and expensive to repair. Next, examine storage compartments and lower trim areas for signs of pests, nests, or debris buildup that may have accumulated during storage.
Furthermore, RV owners who compare covered vs. uncovered RV storage in Boise, Idaho often notice significant differences in how much exterior prep work is needed before travel season begins. Covered storage can help reduce exposure to UV rays, snow, and debris, all of which can contribute to wear over time. As you continue the inspection, pay close attention to awnings, slide-outs, ladders, and exterior lighting. Taking a little extra time during this first walkthrough can help you identify problems early before they interrupt a trip later.
2. Inspect Tires Carefully Before Hitting the Road
After the exterior inspection is complete, focus your attention on the tires because they are one of the most important safety components on the RV. Tires naturally lose air pressure during storage, and extended periods of inactivity can sometimes lead to flat spots, sidewall cracking, or uneven wear patterns. Begin by visually inspecting each tire for damage, including dry rot, cuts, embedded debris, or bulging areas along the sidewalls. Then, use a reliable tire pressure gauge to verify that every tire matches the manufacturer’s recommended PSI. It is also important to inspect the spare tire because it is often forgotten until an emergency occurs.
Additionally, Boise RV owners frequently travel through mountain roads, steep grades, and warmer summer pavement conditions throughout Idaho. Underinflated or weakened tires can become especially dangerous during long highway drives or elevation changes. Because of this, tire maintenance should never be rushed or skipped. According to the National Highway Traffic Safety Administration, maintaining proper tire inflation helps improve vehicle handling, fuel efficiency, and overall roadway safety. Once the tires are inspected and properly inflated, it becomes much easier to move confidently into the next stage of preparing the RV for travel season.
3. Recharge and Test the Battery System
After sitting idle for weeks or months, RV batteries often require attention before they can reliably support travel. Even batteries that were disconnected during storage can gradually lose charge over time, especially during colder Idaho winters. Start by reconnecting the battery and checking voltage levels with a multimeter or battery monitor. While doing this, inspect the battery terminals carefully for corrosion or buildup. If needed, clean the terminals and verify that all cable connections are secure and functioning properly.
Next, test the RV’s electrical systems one by one. Turn on interior lighting, fans, slide-outs, leveling systems, outlets, and dashboard electronics to confirm everything is operating as expected. If your RV includes solar panels or additional battery banks, those systems should also be checked before travel begins. Moreover, battery issues often reveal themselves at the worst possible moment, such as during campground setup or overnight stops. By testing these systems early, you can avoid unnecessary stress once your trip is underway. If the battery struggles to maintain a charge consistently, replacement may be the better long-term solution. Preventative maintenance now can help protect the larger electrical system later.
4. Flush and Sanitize the Plumbing System
Once the electrical systems are functioning correctly, shift your attention to the RV’s plumbing system. If the RV was winterized before storage, this step becomes especially important because antifreeze, stagnant water, and unused pipes all require attention before travel resumes. First, reconnect any bypassed water lines and inspect visible plumbing connections for leaks or loose fittings. Then, flush the entire freshwater system thoroughly to remove any lingering antifreeze or stale water. While flushing the system, run water through every faucet, shower, and toilet to confirm proper flow and water pressure.
In addition, sanitizing the freshwater tank is an important step many RV owners overlook. Proper sanitation helps eliminate bacteria and odors that may develop while the RV remains unused for extended periods. A clean water system creates a more comfortable experience during camping trips and helps avoid unpleasant surprises once you arrive at your destination. Boise travelers often use their RVs for outdoor recreation throughout southern Idaho, including trips near the Boise River Greenbelt, Cascade Lake, and nearby state parks. Since many of these destinations rely heavily on onboard water systems, proper plumbing preparation becomes even more valuable before departure.
5. Test Every Appliance Before Travel Day
At this point, your RV is beginning to feel road-ready, but there is still important work to complete before loading up for the first trip of the season. One of the smartest things you can do is test every appliance while the RV is still parked safely at home or in storage. Begin with the refrigerator and allow it enough time to cool properly. Then, test the air conditioner, furnace, microwave, water heater, stovetop, propane systems, and ventilation fans individually. As you do this, listen carefully for unusual sounds and look for warning lights or ignition problems.
Equally important, inspect propane connections and hoses for signs of wear or leaks. If anything smells unusual or fails to operate correctly, scheduling professional service before departure is always the safer decision. During Boise summers, reliable air conditioning becomes particularly important because temperatures can climb quickly during travel season. Meanwhile, spring and fall camping trips in Idaho’s mountain regions may require dependable heating systems overnight. Testing appliances early helps avoid interruptions once the trip begins. Mobile RV Solutions emphasizes that regular maintenance and appliance inspections can help improve safety and extend the lifespan of RV systems.
6. Check Engine Fluids and Mechanical Components
Even if your RV remained stationary throughout storage, engine fluids and mechanical systems still need inspection before driving. Over time, fluids can degrade, seals can dry out, and small mechanical issues can worsen if ignored. Start by checking engine oil, coolant, transmission fluid, brake fluid, and windshield washer fluid levels. If the RV has been stored for an extended period, scheduling an oil change before travel season is often a smart precaution. Afterward, inspect belts and hoses carefully for cracking, brittleness, or signs of wear.
Next, start the engine and allow it to idle while listening for unusual noises or dashboard warnings. If your RV includes a generator, run it under load to confirm it powers appliances correctly. Furthermore, Idaho’s scenic roadways often involve mountain driving, long climbs, and varying elevations. Mechanical systems that appear fine during a short startup may struggle during extended highway travel if maintenance was neglected during storage. For this reason, many experienced RV owners treat preseason inspections as part of the overall travel experience rather than simply another chore on the checklist.
7. Deep Clean and Refresh the Interior
Once the mechanical systems are inspected, it is finally time to focus on comfort and organization inside the RV. Even well-protected RVs tend to collect dust, stale air, or minor clutter during storage, so giving the interior a thorough cleaning can instantly make the space feel travel-ready again. Open the windows to improve airflow and wipe down cabinets, countertops, appliances, and seating areas. Vacuum floors carefully and inspect hidden storage compartments for signs of moisture or pests. While cleaning, this is also a good opportunity to reorganize kitchen supplies, bedding, tools, and travel gear that may have accumulated over previous trips.
At the same time, check expiration dates on pantry items, medications, and emergency supplies. Replace batteries in smoke detectors and carbon monoxide alarms if necessary. For many Boise families, RV trips are closely connected to outdoor recreation and weekend escapes throughout Idaho. Starting the season with a clean and organized RV helps create a more enjoyable experience from the moment the trip begins.
8. Verify Registration, Insurance, and Emergency Supplies
Before officially hitting the road, take a few minutes to confirm all paperwork and emergency equipment are current and accessible. During long storage periods, registration deadlines, insurance renewals, and roadside assistance memberships can easily slip by unnoticed. First, verify that registration and insurance documents are updated and stored inside the RV. Then, inspect your emergency equipment, including flashlights, jumper cables, fire extinguishers, first aid kits, roadside tools, and reflective safety markers.
Additionally, Boise RV owners often travel through remote parts of Idaho where services may be limited for long stretches of road. Because of this, being properly prepared for unexpected situations becomes especially important. The Boise Metro Chamber provides helpful information about local recreation, outdoor attractions, and seasonal activities throughout the area. Reviewing your planned route ahead of time can also help identify construction zones, campground restrictions, or seasonal road closures that may affect larger RVs.
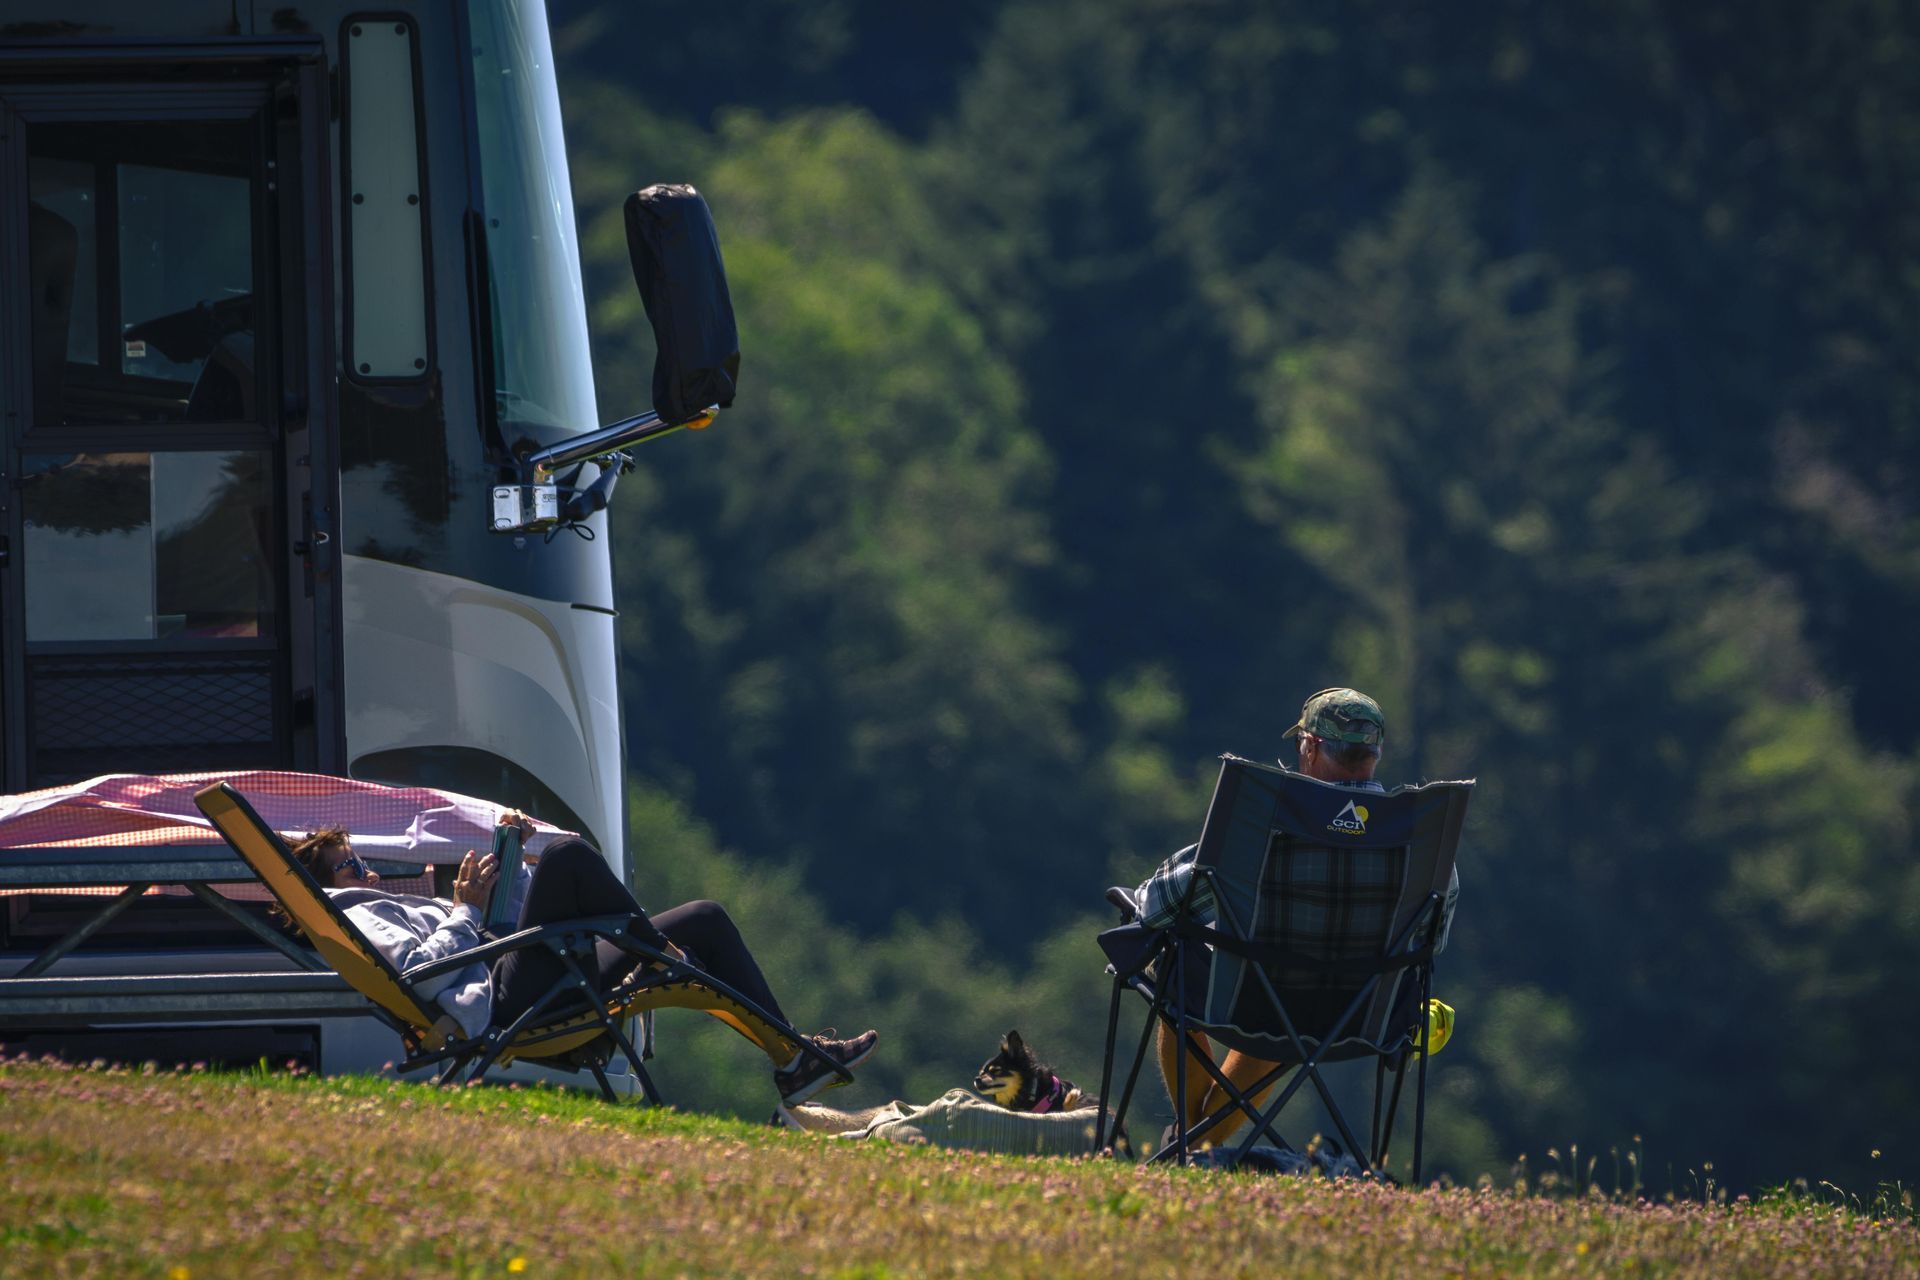
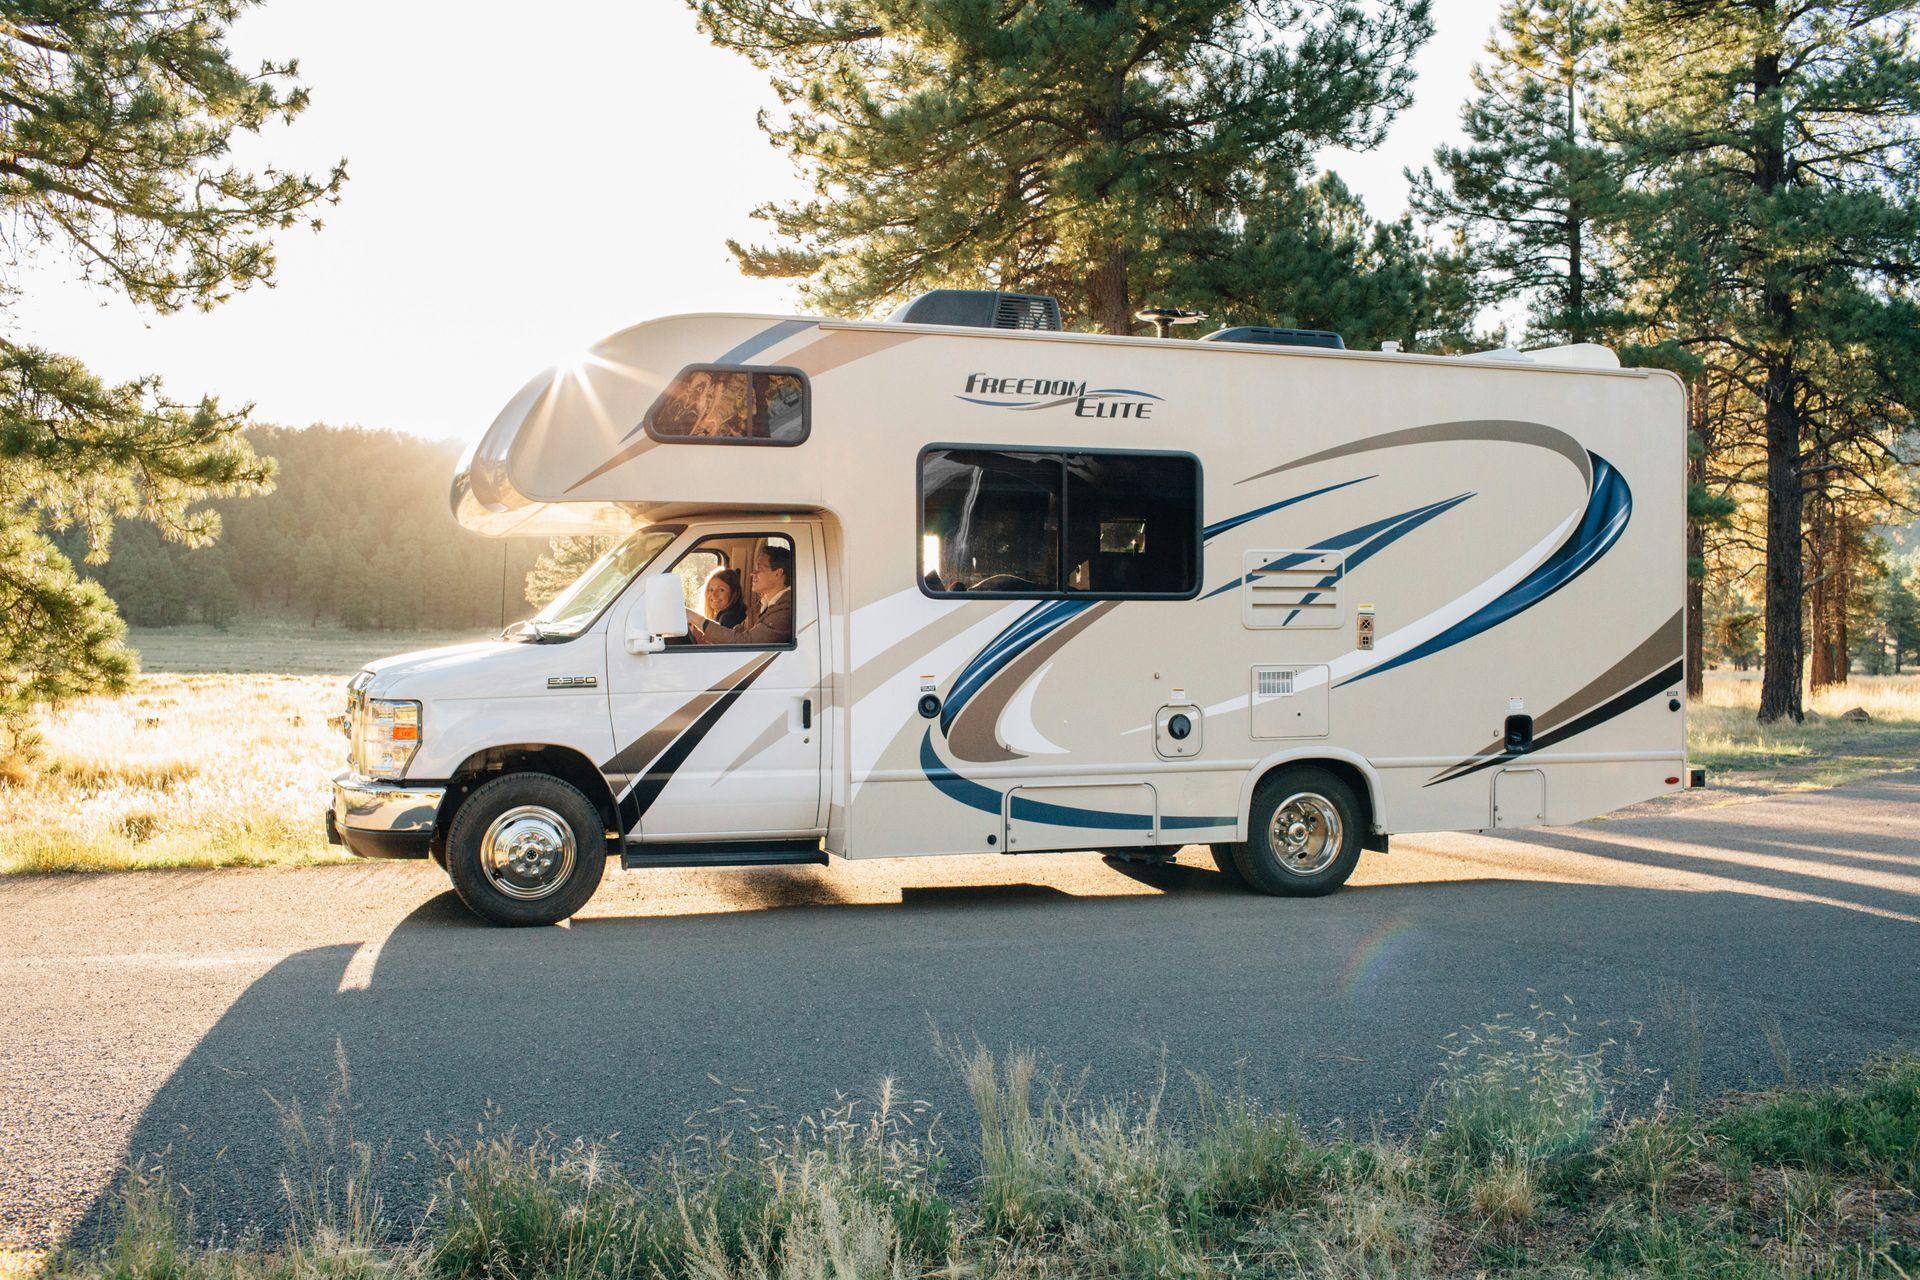
9. Take a Short Practice Drive Before Longer Trips
Although it can be tempting to jump straight into a long road trip, taking a short local drive first is one of the best ways to identify lingering issues before they become serious problems. Drive the RV through city streets, neighborhood roads, and moderate traffic conditions while paying close attention to steering, braking, acceleration, suspension, and handling. Listen for rattles, vibrations, or noises that may not appear while the RV is parked. At the same time, test mirrors, backup cameras, turn signals, windshield wipers, and headlights during the drive. Small issues often become much easier to address when you are still close to home or near local service centers. Fortunately, Boise offers plenty of nearby recreation areas and scenic routes that work well for short test drives before larger adventures. Even a quick outing can help build confidence before longer trips across Idaho or neighboring states.
10. Prepare Early for the Next Storage Season
Finally, once your RV is fully road-ready, it is worth thinking ahead to the next time it eventually returns to storage. Planning now can make future maintenance much easier while also helping protect the RV’s long-term value. Keep notes about repairs, upgrades, or maintenance items that should be addressed later in the season. Likewise, track supplies that need replenishing and identify any storage improvements that may help preserve the RV more effectively next time.
In fact, many RV owners researching long-term ownership costs also explore how storage conditions affect resale value and depreciation over time. Our article discussing RV depreciation and Idaho storage benefits explains how proper storage practices can help reduce wear and protect your investment throughout ownership. As camping season eventually winds down again, dependable storage options in Boise can help keep your RV protected, maintained, and ready for the next Idaho adventure waiting just around the corner.